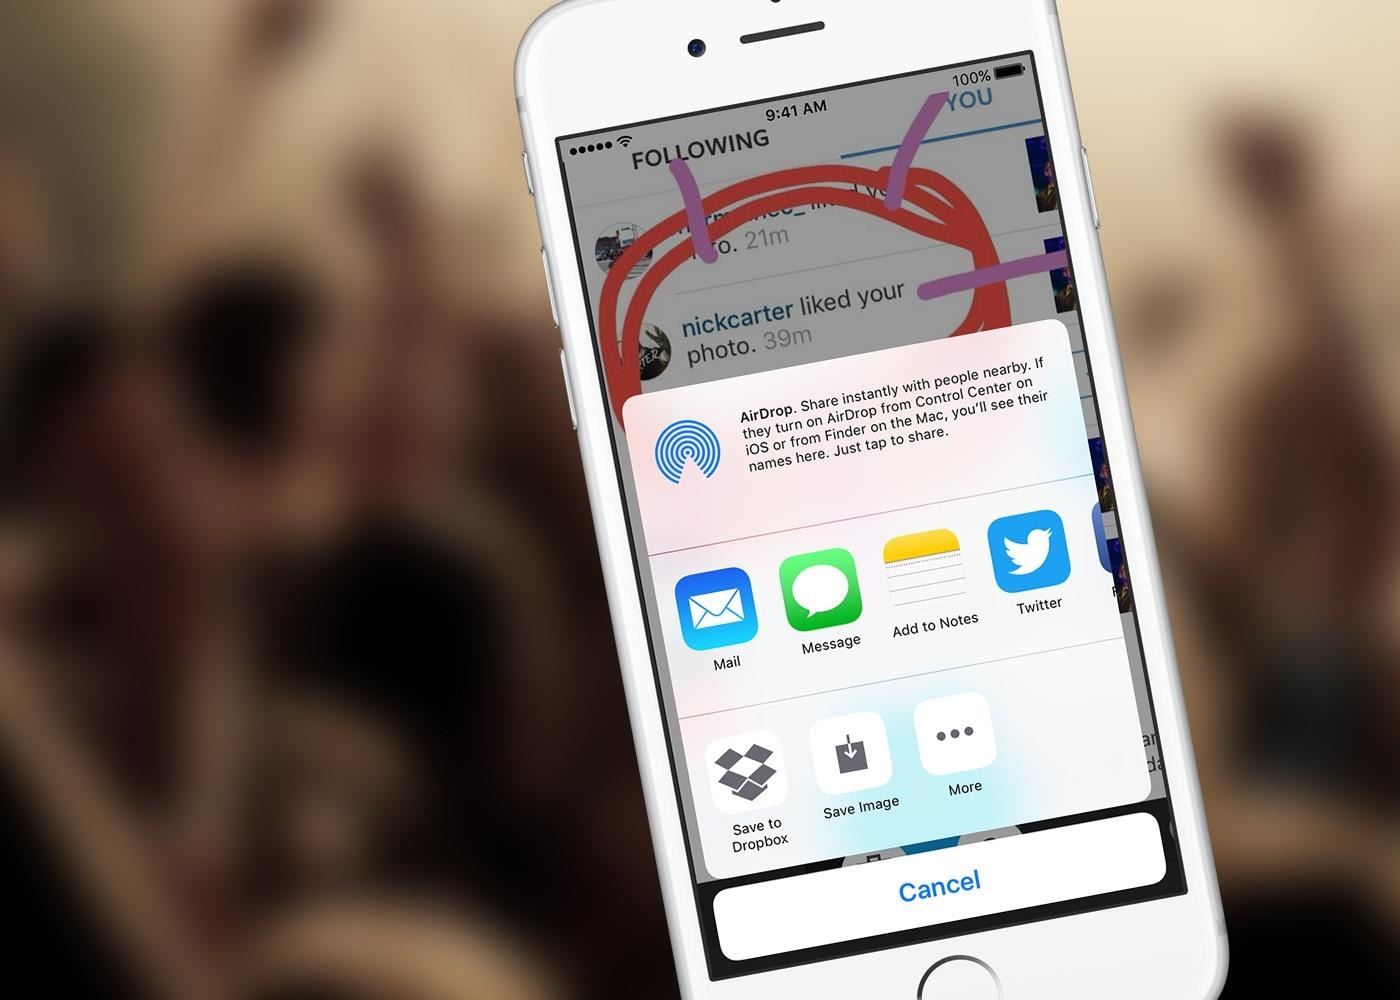
Steps for How to Take and Edit a Screenshot On An iPhone

The recent iPhone releases do not consist of a Home button, so it was a bit confusing for iPhone users to find the right way to take a screenshot on these newer models. So, no matter if you own an older version of an iPhone or the newest model, you can still struggle to find the right way of taking and editing a screenshot.
To help you out, we have compiled the steps you need to take in order to capture and edit a screenshot despite what iPhone model or version you own.
Taking a screenshot on iPhone 8 or prior models
Whether you own an iPhone 8 or a model earlier than this one, the method of taking a screenshot is extremely simple since these models have a Home button. You just have to press it and the power button simultaneously. It will take you only two seconds to take the screenshot and once done, a flashing light will blink on the screen confirming that the shot has been taken.
Taking a screenshot on iPhone X or latest models
The newer models of iPhones, such as iPhone X do not have a Home button. That means the mechanism of taking a screenshot would have entirely changed and it certainly has. Since there is no Home button to press at once with the power button, you will now have to hold the volume up button along with the power button. This change is extremely minor, and the way to notice if a screenshot has been taken or not is the same as it was in older iPhone models.
Taking a screenshot using Assistive Touch
If you compare an iPhone with an Android phone, you will notice that Android has more alternatives and shortcuts for taking screenshots as compared to iPhones. Another very less known technique of taking screenshots is using Assistive Touch. This feature is available in your iOS device, and here is how it works.
Firstly, go to the Settings app on your iPhone and tap General. Once the page opens, tap Accessibility. In the Accessibility page, you will find an option for Assistive Touch, which needs to be enabled. Once the feature is enabled, the option to take screenshots will be available as a shortcut on the main interface of your iPhone.
If you cannot find the shortcut, then swipe to the left page of your iPhone interface, and you will find it there. Since it will be available in the form of a shortcut, you can place it anywhere on the screen.
Taking screenshot through Siri
It might be surprising to most iPhone users that Siri has been integrated with unique features, but it still cannot execute a task as simple as taking a screenshot. Instead, Siri can provide you with all the details and steps required for taking a screenshot. Simply ask Siri ‘How to take a screenshot’ and the personal iPhone assistant will show you all the steps you can perform to take a screenshot.
Steps to follow to edit screenshot on your iPhone
Once you know how to take a screenshot, the next step is to understand how you can edit it on your smartphone.
Edit screenshot on iOS 10 or older versions
The steps needed to take a screenshot in these models are easier, and so is the procedure edit them.
So if your iPhone is currently running iOS 10 or an earlier version, just tap the Apple Photos app and tap the screenshot you want to edit. Once the image opens, you will see an edit option on the image itself. The edit feature has all the necessary elements for editing. You can crop a picture, resize it, add filters, text, emojis, watermarks, and do a lot more.
Edit screenshot on iOS 11 or latest versions
While the steps needed to take a screenshot on iOS 11 or later versions have entirely changed as the Home button is no more, but the process of editing a screenshot stays similar. The moment you take a screenshot on your iPhone, you will view a small thumbnail of the image you just snapped. The thumbnail will disappear in a second or two, but if you tap on it before it disappears, you will view the options to edit it further. Simply tap the thumbnail and use the tools to edit the screenshot however you want.


